Vegan Tomago or Tamogayaki
One of the quintessential components of sushi is Tomago or Tamagoyaki, a layered Japanese omelette that is traditionally sweet. Also found on top of Egg Nigiri it is layered thin and folded on itself to form a round or square fluffy, layered omelette.
Being vegan doesn’t mean you need to give up everything and finding equivalent substitutions can sometimes be a challenge but in essence that can also be allot of fun. This invariably leads to a few failures but ultimately its nice when you succeed.
In this case, it came together pretty quickly with the help of Lisa from Okonomi Kitchen. Her recipe with some slight tweaks is a great one.
TOMAGOYAKI RECIPE
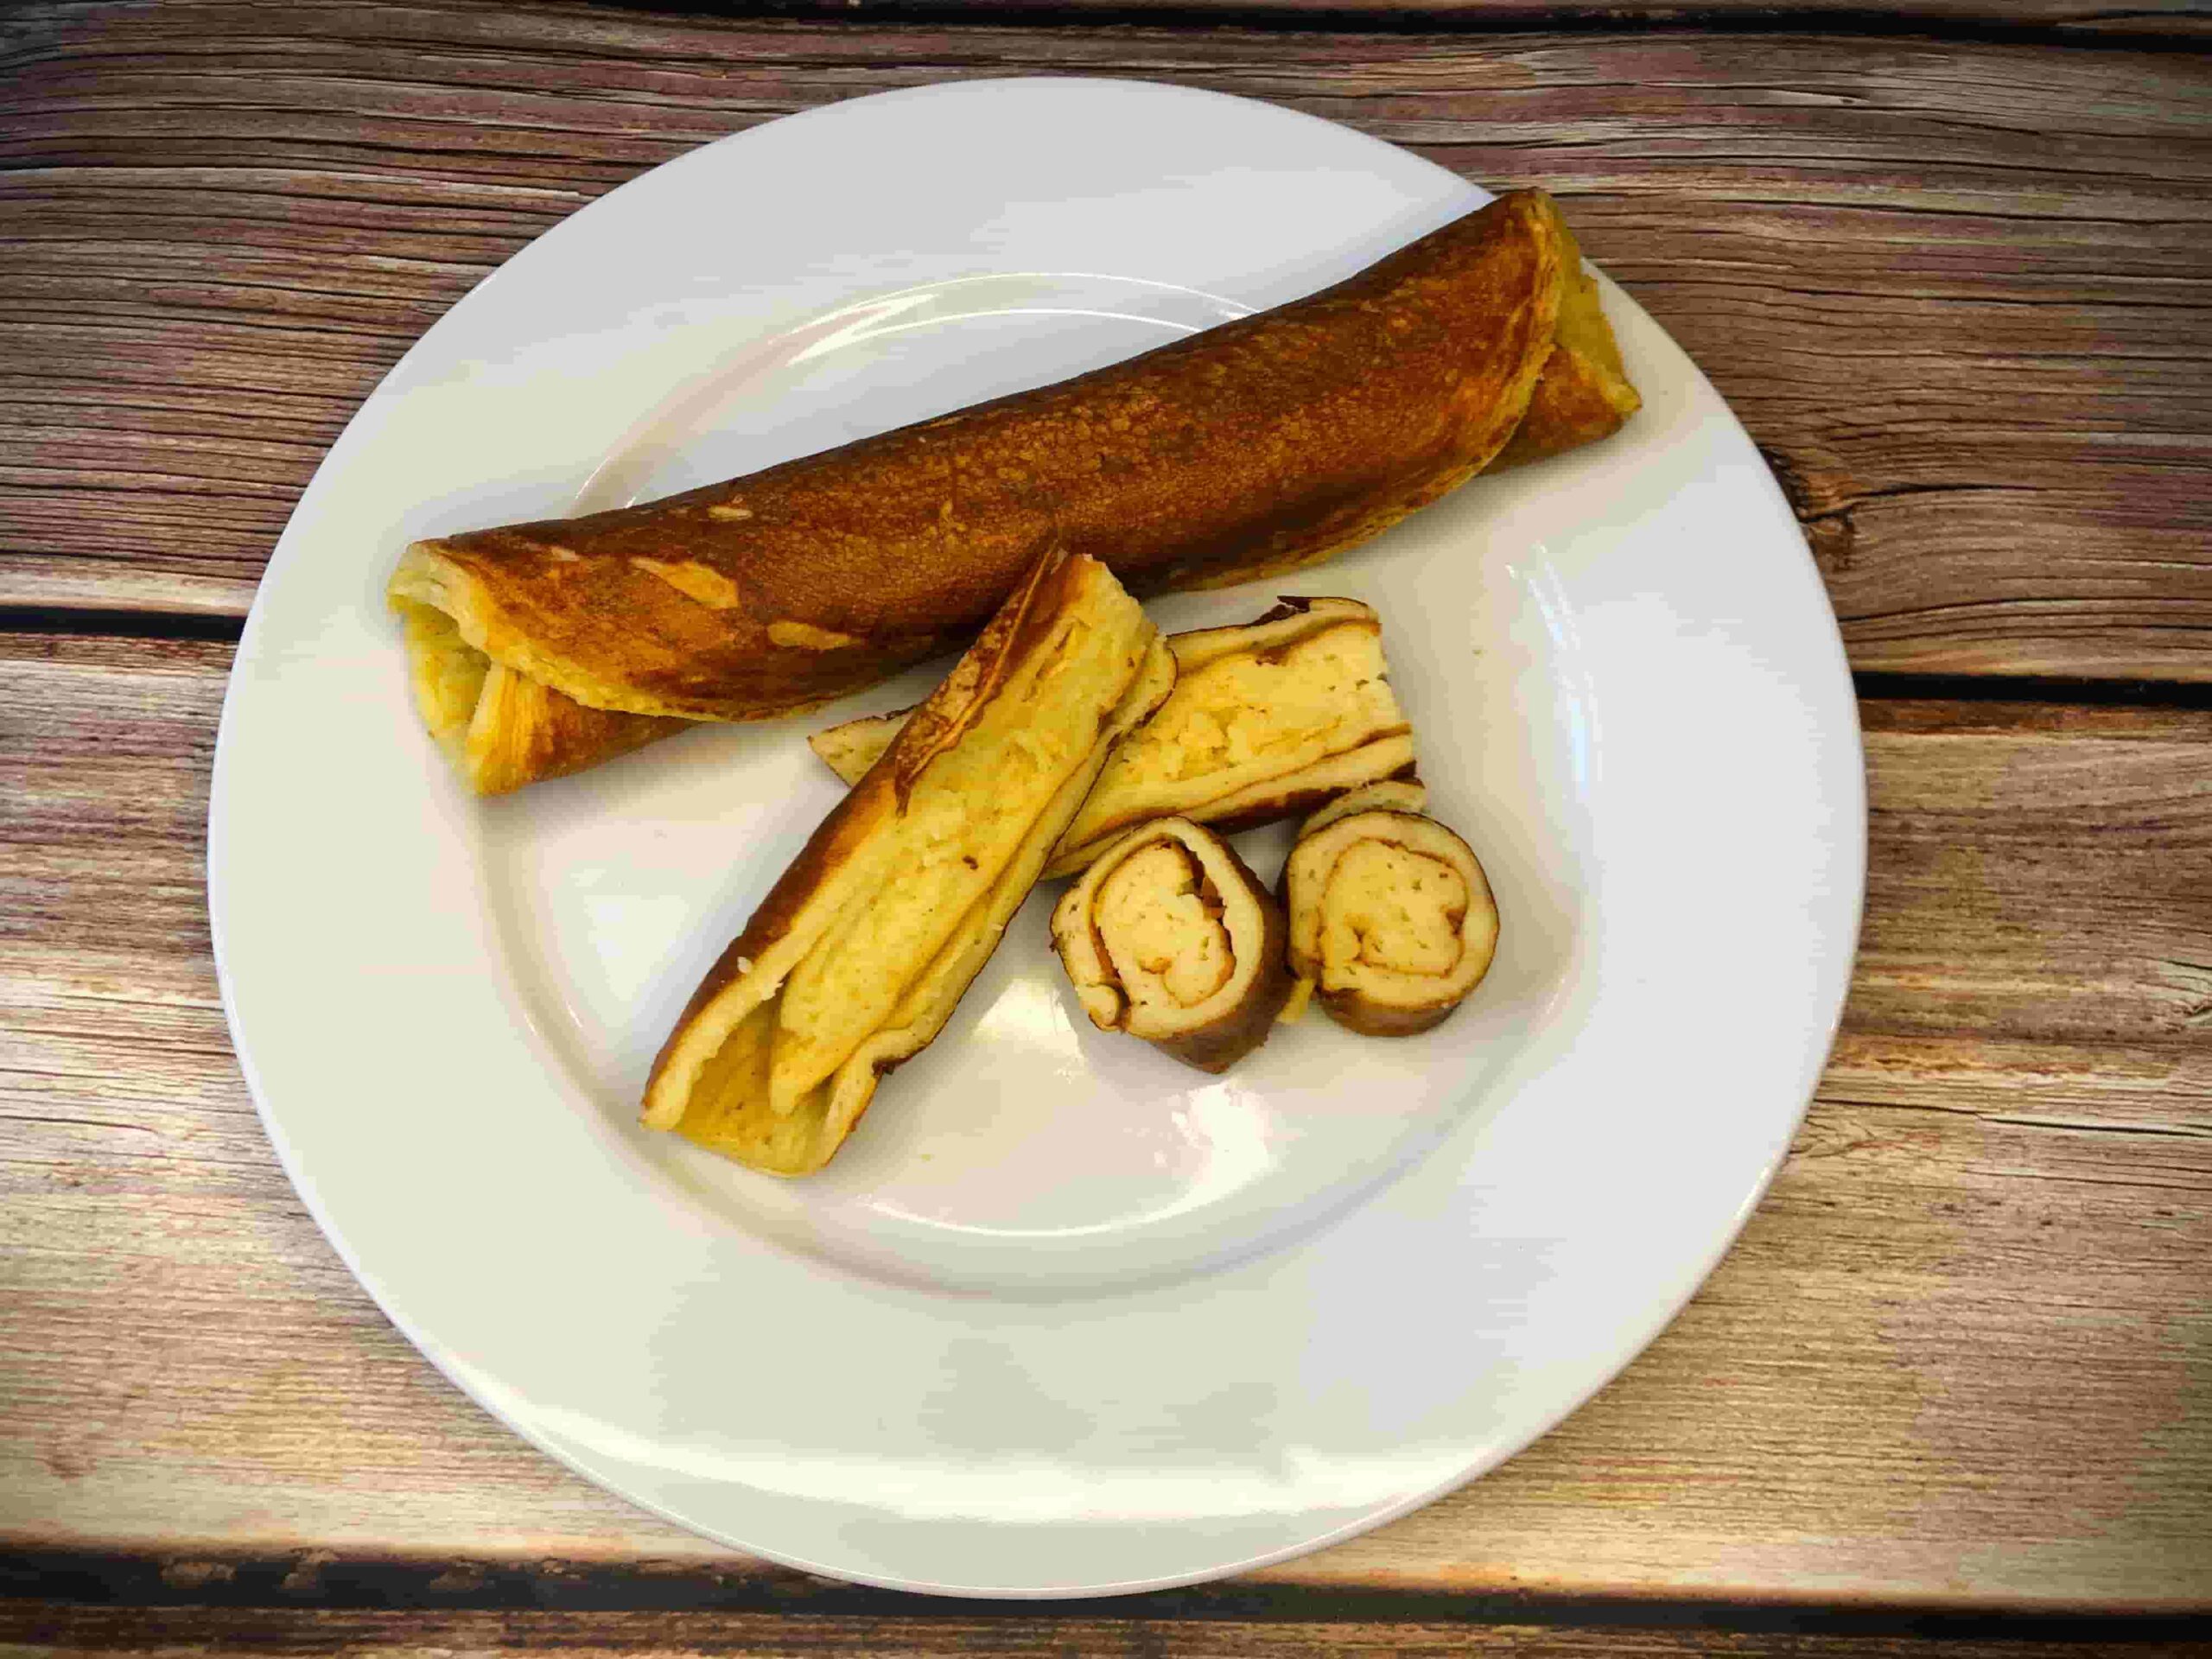
For me using a round 21cm diameter (internal base dimension) non-stick frying pan, I make 2 good size omelettes that each get cut into quarters length wise. If you were a bit more refined you could stretch this to 3 omelette rolls by pouring it thinner but keep an eye on it as the thinner it is the easier it will burn.
Omelette Ingredients
- 200g firm tofu
- 1/2 cup Besan (chickpea) flour
- 1/4 cup water
- 2 tbsp rice flour
- 2 tbsp mirin
- 1 tbsp sugar (cut back if you don’t want a sweet omelette)
- 1 good pinch black salt (carefully increase to get a more eggy taste)
- 1/4 tsp salt
- 1/3 tsp baking powder
- 1 pinch Tumeric for colour (optional), increase for a more yellow colour
Ingredient Notes
- Firm Tofu – This isn’t the hardest tofu you can get but it is firm so it has less water, you could use a softer tofu if that is what you have to hand but cut back on the water as in add the water progressively. You are after a medium batter (not runny like water but it has a thickness to it but not thick pancake batter)
- Firm Tofu Weight – Our Firm Tofu comes in a 900g pack cut into 12 pieces so they are about 65-70g a piece as the weight includes the packaged water. So I use 3 blocks to keep it simple.
- Sugar – Tomagoyaki is traditionally a sweet omelette. If you don’t want it sweet then leave it out. My lot are happy without the sugar.
- Black Salt – The strength of black salt varies a bit but its main purpose is to give that slight sulfur like smell and taste that egg has. To be honest its best to put to little in. This is a good pinch btw but its not a 1/4 tsp, that would be getting up there. Try it and if you need more, on your next batch you can bump it up a bit
METHOD
Making the omelette
- Place all ingredients except the baking powder into a high speed blender. Start it on low if your tofu is in large chunks to gently break them up and increase to a higher speed. The blender will be adding in some air as well to fluff it up a bit.
- Add the baking powder and blend on low for 20 seconds and let sit while you ready your pan.
- Place a pan on med-high heat to get some heat into the pan and then reduce the heat to medium.
- Using a good non-stick fry pan, pour in enough batter and swirl the fry pan to get a thin even coating on the bottom of the pan. The layer should be about 2-3mm thick.
- Cover with a lid to keep the heat in and help the omelette rise for about 2-3 minutes. Ours is glass so I can keep an eye on what is going on.
- After about 1-2 minutes with a spatula, push around the edges of the omelette to separate it from the edge of the pan. It should have some larger air bubbles rising in the middle and it should have fluffed up a bit.
- When you see some air bubbles broken through the surface and it is looking slightly cooked (it shouldn’t look wet), begin from one edge running the spatula (non-metal in your non-stick pan) under a small section of the omelette progressively to pry up a small section and when you have about 1cm free from the pan fold this over onto the surface of the omelette.
- Turn the heat down progressively as your pan warms up so at to not burn the base of the omelette.
- Continue progressively working under this edge of the omelette back and forth and as you free up a length rolling it over onto the remaining omelette. You can use a wooden chopstick as well for this.
- When you get to the far edge of the pan, ease under the last of it until it is all free. Slide the rolled omelette back into the middle of the pan and roll it to place the last edge directly under the omelette and let it sit for 30-60 seconds to bind, apply a very slight amount of pressure.
- Carefully lift this omelette out and rest on a plate or board.
- Repeat once or twice depending on who much batter you used the first time.
- When the last omelette is finished, return all the omelettes to the pan and turn off the heat, placing the last edge or seam directly under the omelette to help it set and seal.
- The warmth of the pan will help the omelettes set. If you cut them now, they will be a little wet inside. They are quite edible at this stage but will set further.
NOTES
- A round pan is going to give you an omelette roll with hollow ends, it is the nature of the beast, the middle will be the thickest part. If you don’t like this, see Note 2 below.
- Traditionally this is done in a square or rectangular pan. This way you will get an even thickness omelette from end to end and you can also mould the classic square shape if you are going for full authenticity.
You must be logged in to post a comment.